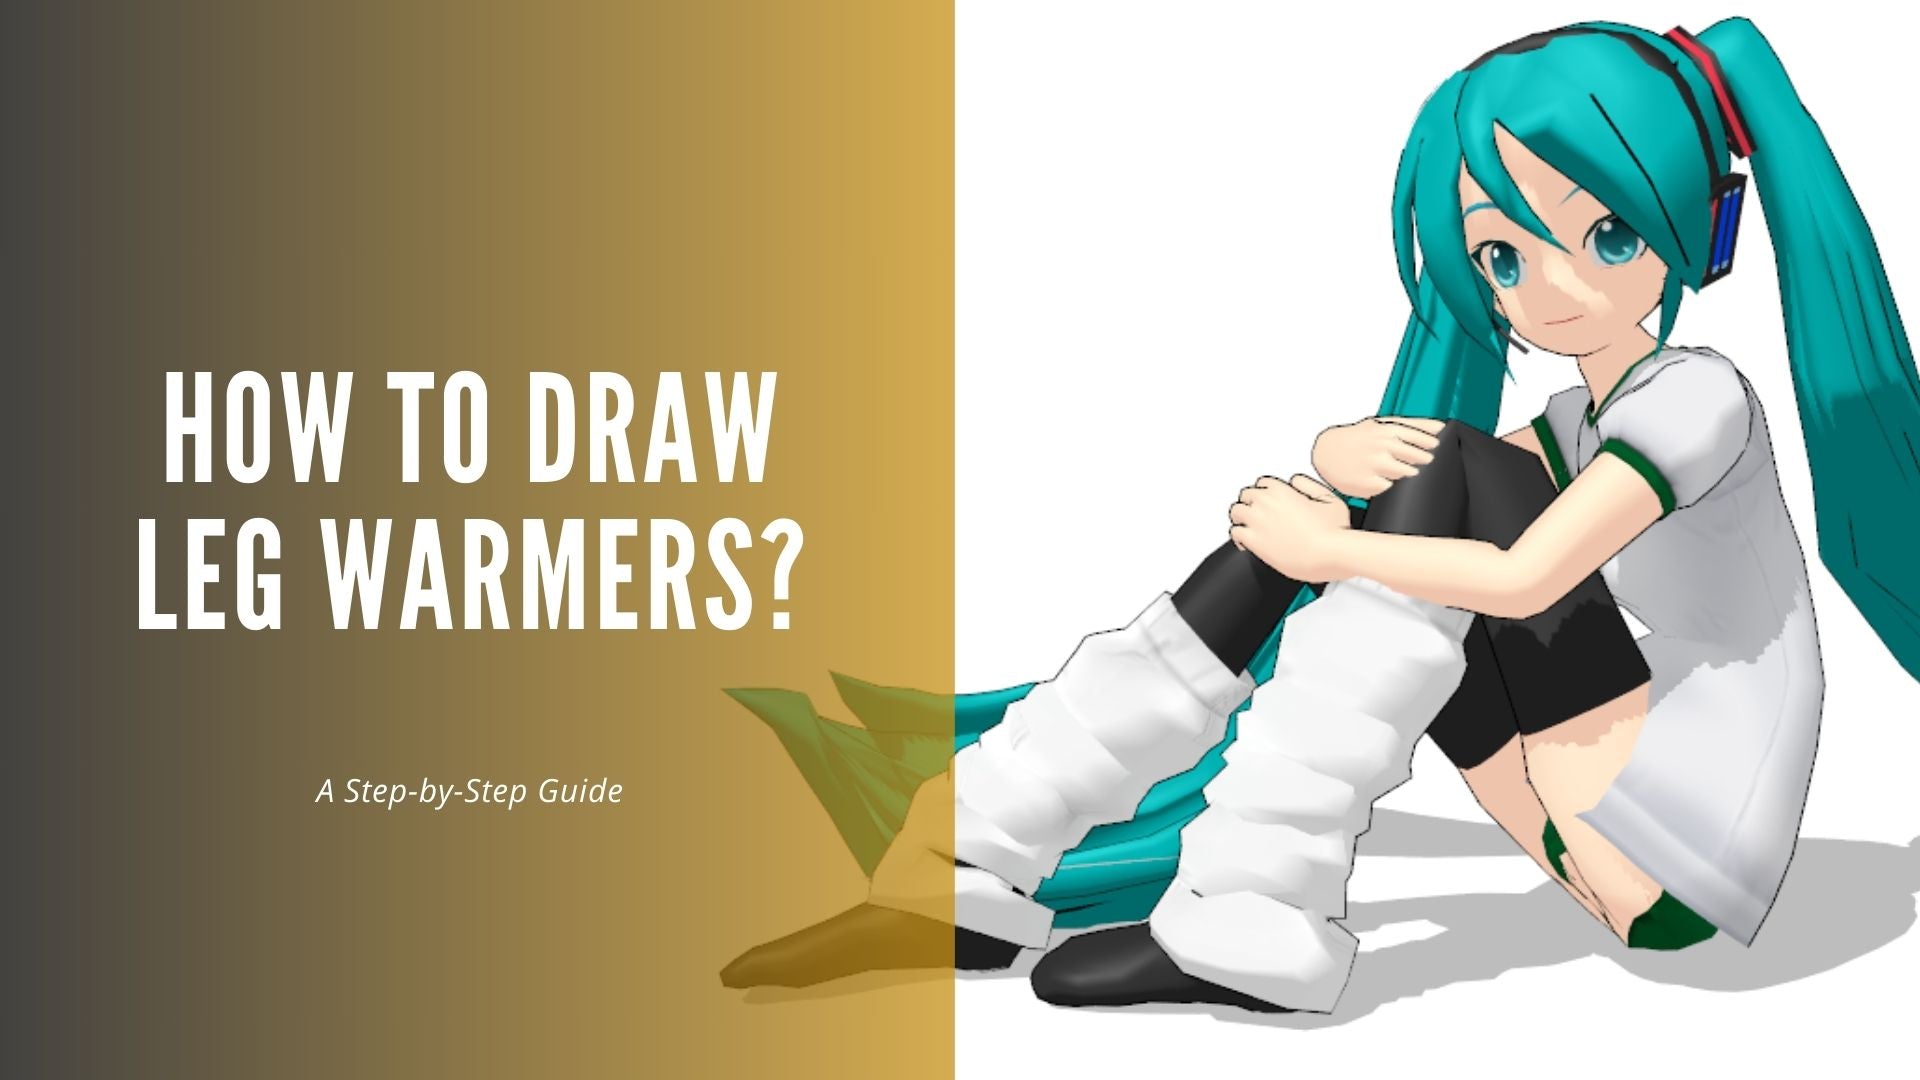
Drawing leg warmers can be an exciting and creative way to express your fashion sense! Whether you’re sketching for a design project or simply for fun, understanding how to draw leg warmers will enhance your artistic skills. In this article, we’ll take you through the essential steps to create your own stylish leg warmers.
Understanding the Basics of Leg Warmers
Leg warmers are not just functional; they can be incredibly stylish too! Typically worn during the colder months, these fashionable accessories can be made from various materials such as wool, cotton, or even synthetic fabrics. To start your drawing journey, it's essential to understand the shape and structure of leg warmers. They generally fit snugly around the legs, covering the calf area and sometimes extending to the knee.
Gather Your Materials
Before diving into your drawing, gather all the materials you’ll need. Here’s a quick list:
- Pencils: A range of pencils, from H (hard) to B (soft), will help you create different textures and shades.
- Paper: Choose smooth sketch paper to allow for easy blending.
- Eraser: A good quality eraser is vital for correcting any mistakes.
- Markers or Colored Pencils: For adding color to your leg warmers once you’ve finished your pencil drawing.
Having these materials at hand will streamline the drawing process and enhance your overall experience.
Step-by-Step Drawing Process
1. Start with Basic Shapes
Begin your drawing by sketching simple shapes. Use a light pencil to outline the basic form of the leg warmers. Start with two parallel lines for the sides, tapering slightly towards the top. This creates the cylinder-like shape of the warmers. At the bottom, draw a gentle curve to represent the hemline.
2. Add Details and Texture
Now that you have the basic outline, it’s time to add details! Consider the fabric type you want to portray. If you’re aiming for a knitted look, use short, curved lines to create the texture. For a smoother look, you can draw straight lines and lightly shade to add depth.
3. Incorporate Design Elements
Leg warmers can come in various designs, such as stripes, polka dots, or even floral patterns. Think about what style you want to showcase. Draw these patterns lightly with a pencil first, then go over them with a darker pencil or marker for emphasis.
4. Final Touches and Coloring
Once you’re satisfied with your design, it’s time for the final touches. Use your eraser to clean up any unnecessary lines and enhance the overall look. If you want to add color, choose shades that complement your design. For knitted leg warmers, consider using a blend of colors to showcase depth and dimension.
Practice Makes Perfect
Remember, practice is key to improving your drawing skills. Don’t hesitate to experiment with different styles and techniques. The more you draw leg warmers, the better you’ll get at capturing their essence and detail.
By following these steps, you’ll be well on your way to creating beautiful leg warmer illustrations. Whether for a fashion portfolio or just for fun, enjoy the process and let your creativity shine!
For more inspiration and options, check out this leg warmers shop.

