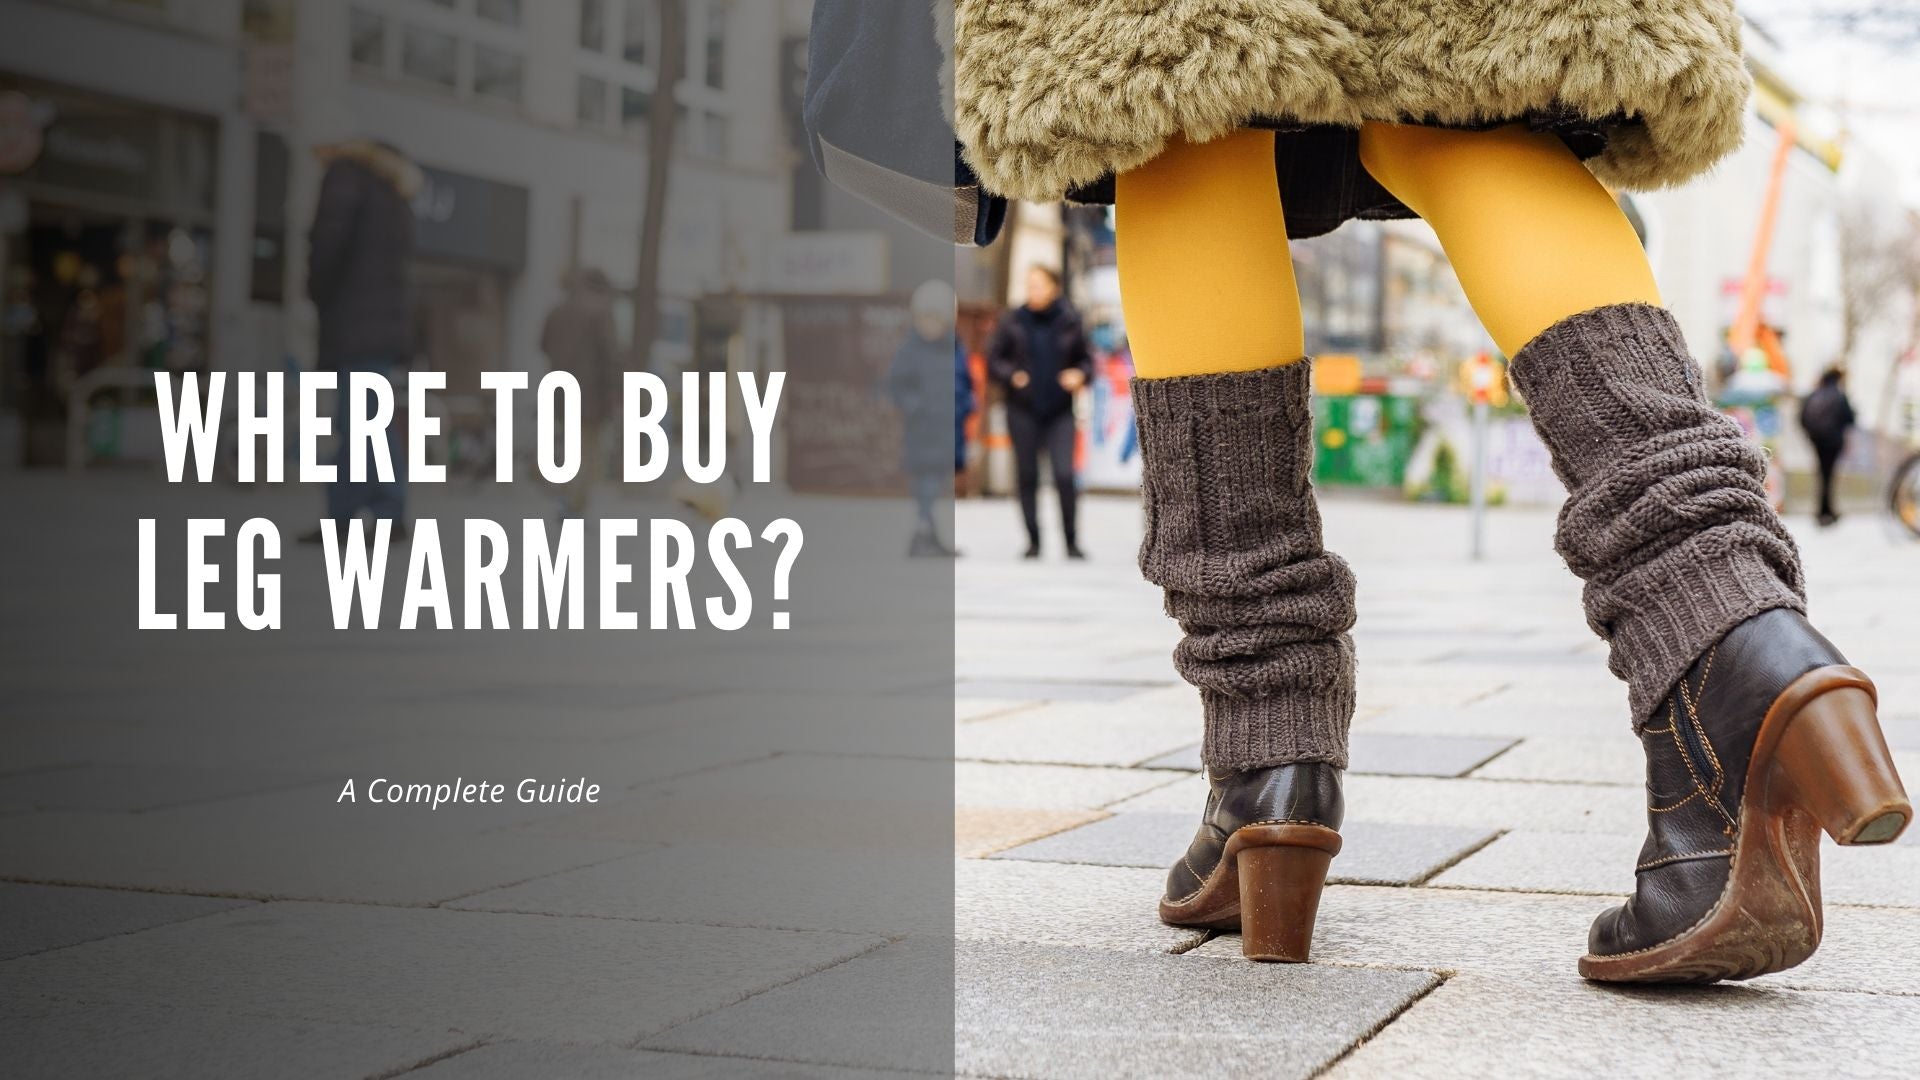
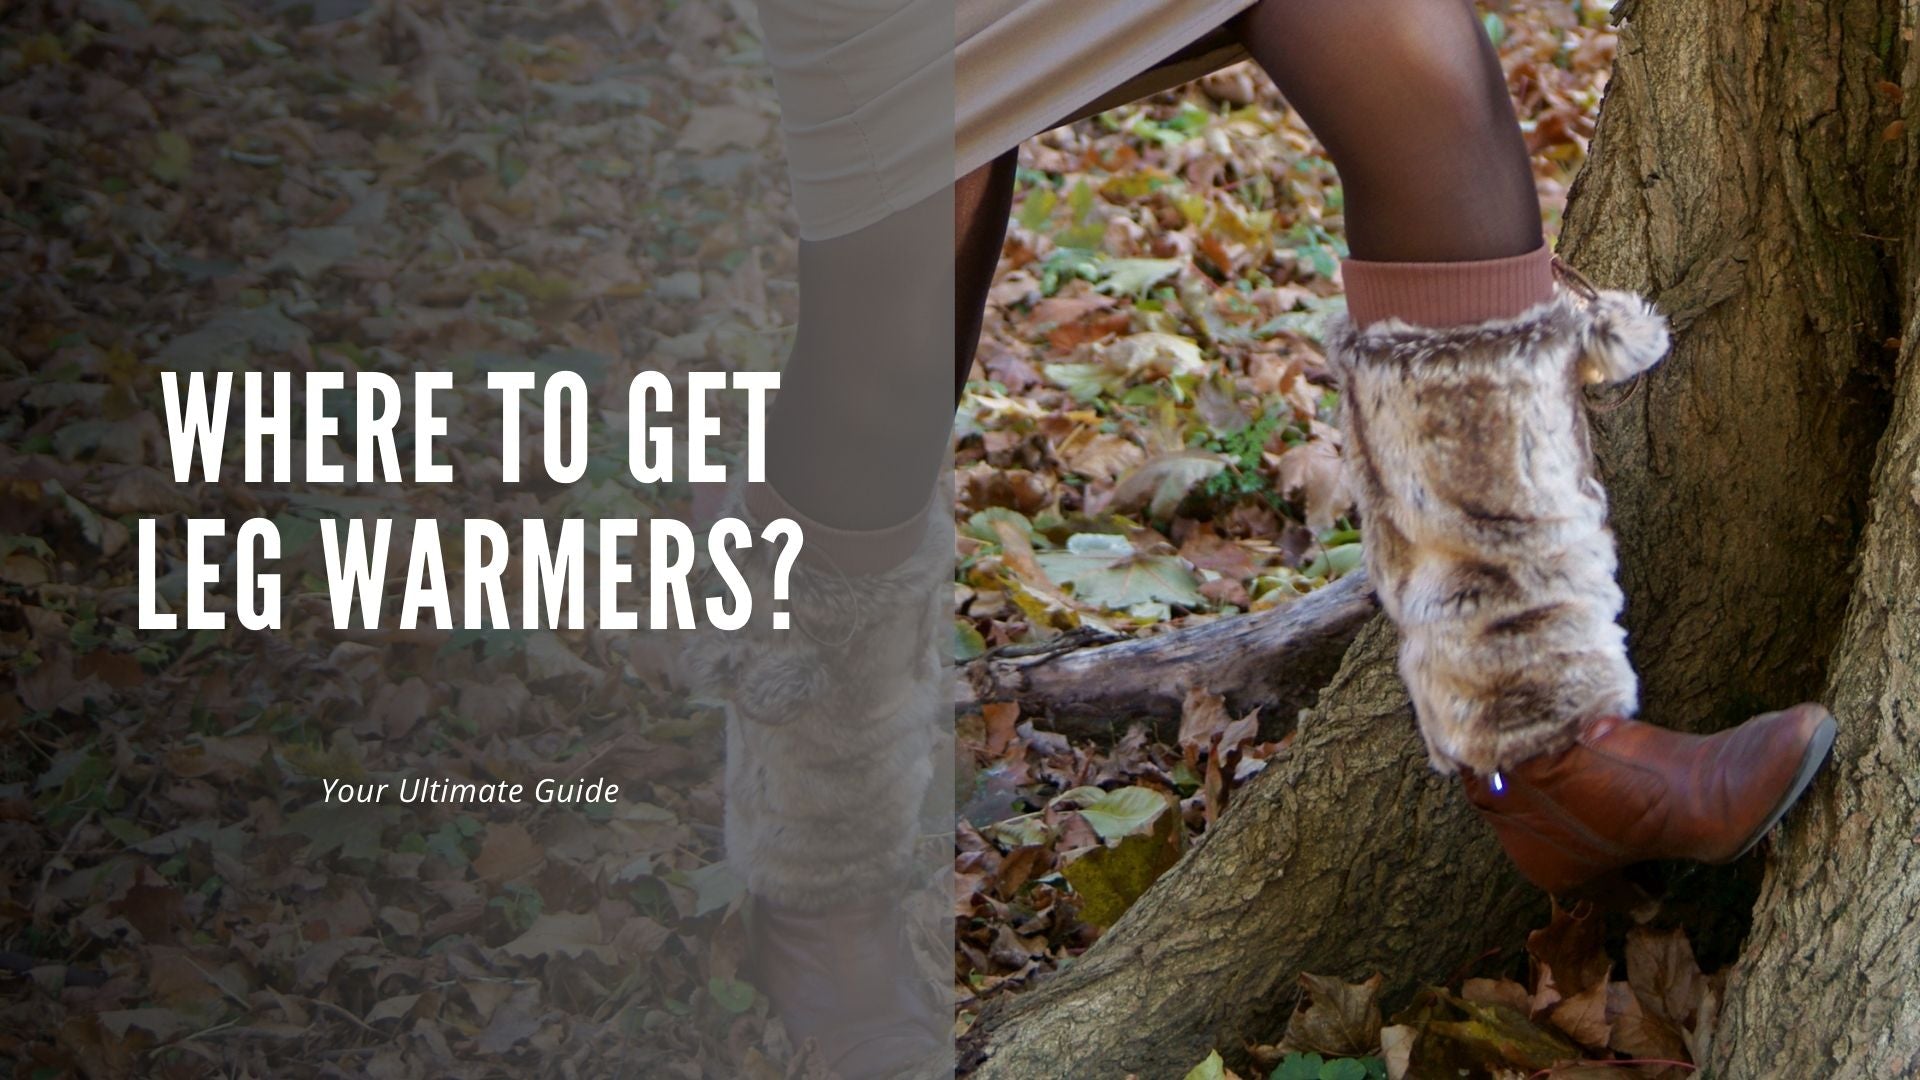
Leg warmers are a fantastic way to keep warm during the chilly months while adding a stylish touch to your outfit. Knitting your own leg warmers can be a fun and rewarding project, whether you're a seasoned knitter or a complete beginner. Let’s dive into how to knit leg warmers that will not only keep your legs cozy but also showcase your unique style!
Choosing the Right Yarn and Needles
Before we get started, let’s talk about materials. The first step in knitting leg warmers is to select the right yarn. Acrylic yarn is a great choice for beginners because it's affordable and easy to care for. However, if you want something softer and warmer, consider using wool or a wool blend.
As for needles, using size 6 to 8 needles is typically ideal for leg warmers, but this can depend on your yarn’s weight. Always check the yarn label for recommended needle sizes. Circular needles can be handy for this project, especially if you prefer knitting in the round.
Measuring Your Legs
To ensure your leg warmers fit snugly but comfortably, you'll need to take some measurements. Measure the circumference of your calves and the length from your ankle to your knee. It’s a good idea to jot these numbers down so you can refer to them later. If you’re knitting for someone else, be sure to get their measurements to create the perfect fit!
Casting On and Knitting the Cuff
Now that you have your yarn and needles ready, it’s time to cast on. For a pair of average-sized leg warmers, cast on about 40 to 60 stitches depending on your measurements. Remember, you want to knit a gauge swatch first to check your tension.
Once you’ve cast on, knit in a ribbing pattern (for example, Knit 2, Purl 2) for about 2 to 4 inches. This ribbing will create a stretchy cuff that holds the leg warmers up nicely. After finishing the cuff, you can switch to a simple stockinette stitch (knitting every row) for the body of the leg warmer.
Shaping and Finishing Off
As you knit, keep checking the length of your leg warmers. Continue knitting in stockinette until you reach your desired length. To give your leg warmers a unique touch, you can add stripes, cables, or other stitch patterns.
Once you’ve reached the right length, it’s time to bind off. Remember to bind off loosely to maintain the elasticity at the top. Finally, weave in any loose ends using a tapestry needle.
Customizing Your Leg Warmers
One of the best parts about knitting your own leg warmers is the ability to customize them! You can add embellishments like buttons or pom-poms, or even experiment with different colors and textures. Feel free to let your creativity shine through your knitting.
Knitting leg warmers is not only a practical skill but also a fun hobby. You’ll be amazed at how easy and enjoyable it is to create something that keeps you warm and looks great! So gather your supplies, get comfy, and start knitting your own cozy leg warmers today.
For more tips and styles, check out this link.


Leave a comment
This site is protected by hCaptcha and the hCaptcha Privacy Policy and Terms of Service apply.