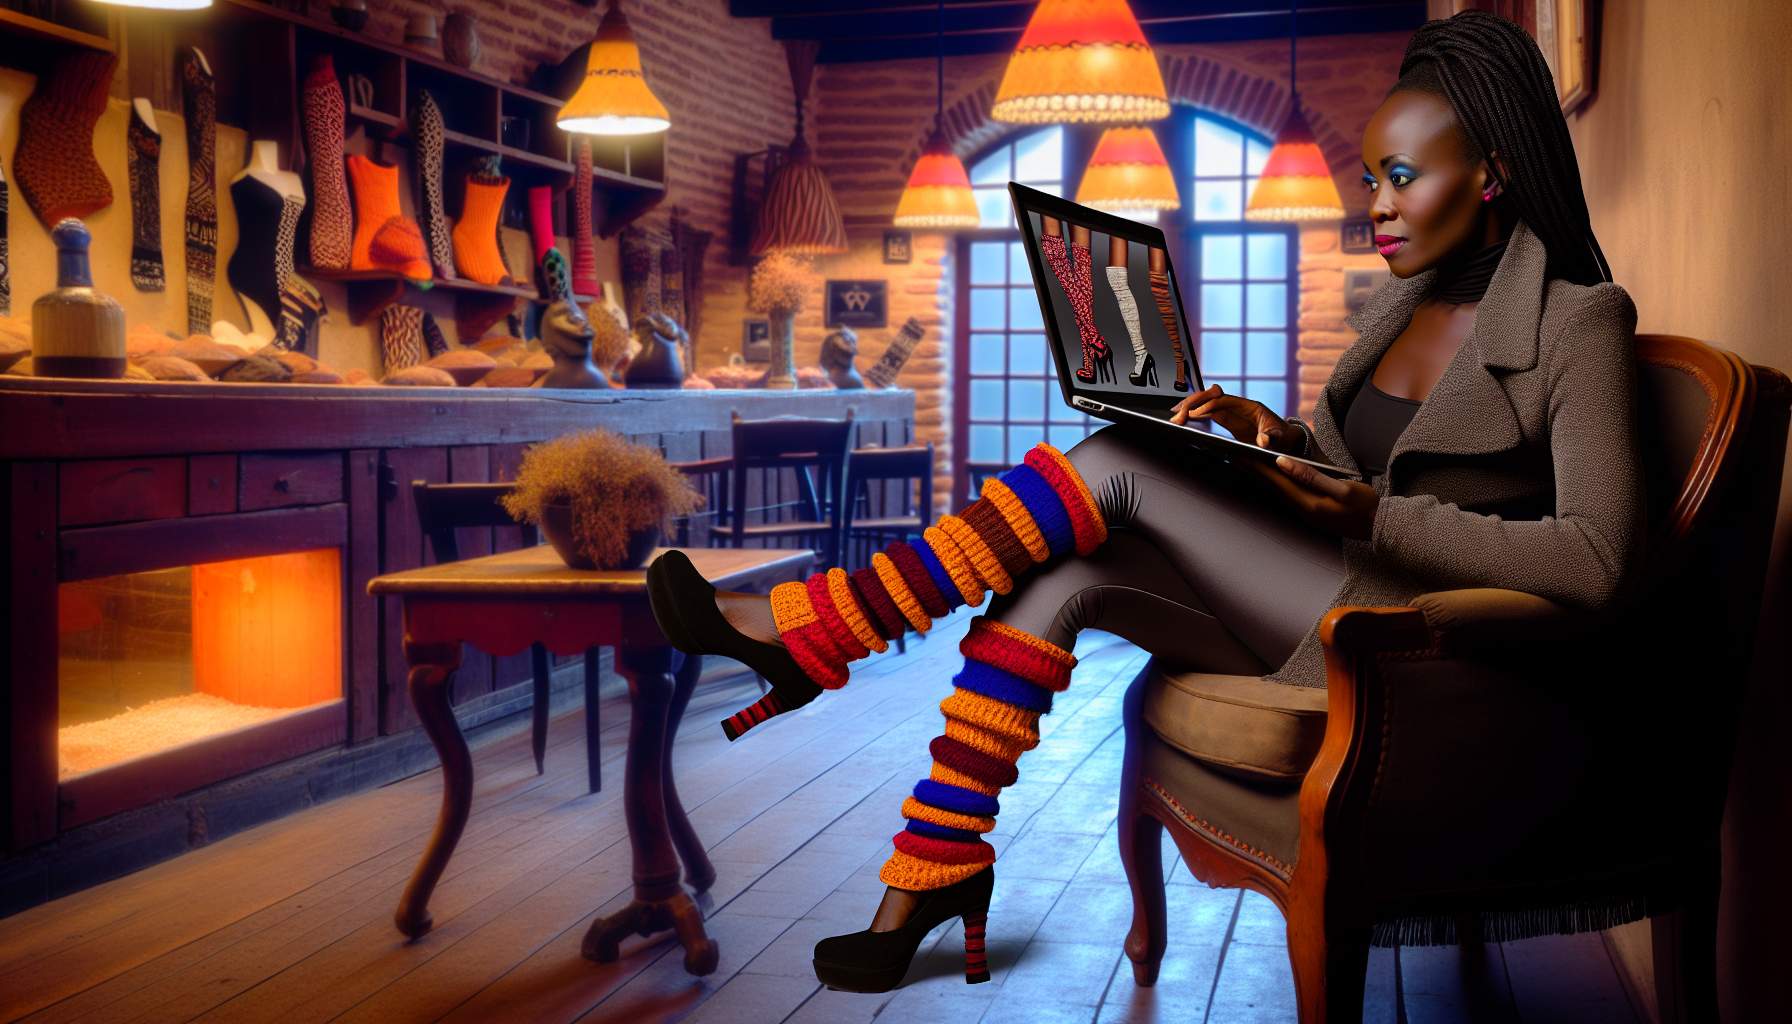
how to knit leg warmers in 2025
Ready to add a cozy touch to your wardrobe? Knitting leg warmers is not only a fun DIY project but also a perfect way to enhance your crafting skills. Whether you’re a beginner or seasoned knitter, follow this guide to create custom, stylish leg warmers that are as unique as you are! Let’s dive into the basics and get those needles clicking. 🧶.
Discover our collections of trendy leggings
Choosing the right materials for leg warmers
- Wool Yarn: Ideal for warmth and breathability.
- Cotton Yarn: A lightweight choice, perfect for layering.
- Bamboo Yarn: Offers durability and eco-friendliness.
- Chunky Yarn: Creates a cozy, thick texture for extra warmth.
- Circular Needles: Facilitates seamless knitting for leg warmers.
Types of yarn suitable for leg warmers
When choosing yarn for your knitting leg warmers project, opt for materials that offer warmth and elasticity. Wool, especially Merino, provides excellent insulation and softness, making it a top choice for cold weather. For those with wool sensitivities, acrylic yarns serve as a hypoallergenic and budget-friendly alternative. Cotton yarn works well for lighter leg warmers perfect for transitional weather. Always consider the yarn’s weight and stretch properties to ensure your leg warmers fit snugly and comfortably. 🧶 Remember, the right yarn enhances both the function and style of your DIY project.
Best knitting needles for beginners
- Circular needles: Ideal for seamless projects, they prevent yarn from tangling.
- Bamboo needles: Provide a good grip for beginners, reducing slips.
- Aluminum needles: Offer smooth knitting and are lightweight, perfect for quick projects.
- Plastic needles: Cost-effective and available in various sizes, suitable for bulky yarn.
- Interchangeable needles: Allow you to change needle sizes easily, adapting to various projects.
Essential accessories for knitting
When knitting leg warmers, having the right accessories can make your project easier and more enjoyable. Here’s a list of essential tools every knitter should have:
- Stitch markers: These help you keep track of your pattern and changes in stitch counts.
- Tape measure: Essential for ensuring your leg warmers fit perfectly.
- Yarn needle: For weaving in ends and sewing up any seams, this tool is a must.
These tools not only assist in creating a polished look but also simplify the knitting process. 🧶.
Basic knitting techniques for leg warmers
To start knitting leg warmers, you first need to master the cast-on technique, ensuring a snug fit around the ankle. Then, you progress to the knit and purl stitches, forming the fabric of your leg warmers. The bind-off method secures your stitches and completes your project.
Casting on and knitting stitches
- Choose a comfortable yarn, preferably wool or acrylic for warmth and elasticity.
- Start with a slip knot and place it on your knitting needle. This is your first cast-on stitch.
- Add stitches by looping the yarn over the needle until you reach the desired number of stitches for the width of the leg warmer.
- Knit each row using a basic knit stitch until your piece measures the length needed to wrap around the calf comfortably.
- Check your work periodically for uniformity in tension and stitch size to ensure a snug, yet comfortable fit.
Ribbing patterns for stretch and comfort
- Choose a ribbing pattern that fits snugly yet comfortably around the leg. 🧶
- Start with a simple 2×2 rib (knit two, purl two) for beginners.
- Experiment with different ribbing sizes, such as 1×1 or 3×3, to find your preferred stretch.
- Ensure even tension throughout to maintain consistent elasticity.
- Use circular needles for seamless knitting and better flexibility.
Ribbing patterns not only enhance the fit but also add a touch of style to your leg warmers. By selecting the right pattern and maintaining even tension, you ensure both comfort and durability. This method suits beginners and helps in achieving a professional look.
Binding off and finishing touches
To bind off your leg warmers, knit two stitches, then pull the first stitch over the second. Repeat this until one stitch remains. Cut the yarn, leaving a tail, and pull it through the last stitch. For a neat finish, weave in the ends with a yarn needle. This technique ensures your leg warmers won’t unravel. 👍.
Step-by-step guide to knitting leg warmers

Let’s dive into the basics of knitting leg warmers! Follow these simple steps to start your project today. 🧶
- Select a soft, stretchy yarn that feels comfortable against the skin.
- Choose knitting needles that match your yarn’s weight for easier handling.
- Start with a simple rib stitch to create a stretchy base.
- Continue knitting to your desired length, ensuring even stitches.
- Bind off loosely to maintain elasticity at the top of the leg warmers.
- Add a personal touch with unique colors or patterns.
Starting your leg warmers project
To kick off your leg warmers project, you’ll need to select your yarn and needles. Choose a soft, bulky yarn for warmth and comfort. For beginners, wooden needles work best as they grip the yarn well, preventing slips. Start by measuring your calf to determine the length and width of your leg warmers. Cast on stitches according to your measurements, ensuring the fit will be snug but comfortable. Remember, taking accurate measurements is key to a successful project, so double-check them before you begin knitting. 🧶 Keep it simple and enjoy the process of creating something unique!
Increasing and decreasing techniques
- Increase stitches by making a knit front and back (KFB) in your leg warmers for gradual widening. 🧶
- Decrease stitches using the knit two together (K2tog) technique to taper the leg warmer toward the ankle.
- Use the slip, slip, knit (SSK) method for a left-leaning decrease, enhancing the fit and shape of your leg warmers.
Mastering these techniques allows you to create leg warmers that fit perfectly and look professionally crafted.
Adding unique designs and patterns
To add unique designs to your leg warmers, start by selecting a vibrant yarn color or a funky pattern. You might consider stripes, polka dots, or even animal prints to bring a personal touch. Integrate cable stitches or lace patterns for texture and depth. For a custom look, try incorporating initials or special dates using intarsia or duplicate stitch techniques. Always ensure your pattern repeats evenly around the leg for a professional finish. This customization not only enhances the style but also makes your handcrafted leg warmers truly one-of-a-kind. 🧶.
Personalizing your leg warmers
- Choose vibrant colors that pop or subtle hues that blend with your wardrobe.
- Mix patterns like stripes or argyles to add visual interest.
- Integrate beads or buttons for a touch of flair.
- Embroider initials or favorite symbols to make them uniquely yours.
- Adjust the length for a perfect fit, whether you prefer them knee-high or shorter.
- Experiment with textured stitches to enhance the feel and look.
Color choices and pattern variations
Selecting vibrant or muted colors can transform your leg warmers into a personal fashion statement 🎨. For a subtle look, stick with earth tones or pastels. If you crave something bold, opt for neon shades or dramatic color blocks. Experimenting with pattern variations, from simple stripes to intricate Fair Isle designs, adds a unique twist to your project.
Adding embellishments and decorations
To make your leg warmers stand out, consider adding colorful buttons or chic lace trims. Crochet small flowers or appliques and sew them on for a unique touch. 🌼 Beads or sequins can give a sparkly effect, perfect for special occasions. Remember, choosing decorations that reflect your personal style turns simple leg warmers into a fashion statement. 🎨.
Troubleshooting and tips for beginners
- Check your gauge regularly to avoid inconsistent sizing.
- Use lifelines in your knitting to easily fix mistakes.
- Keep stitches even with consistent tension.
- Switch to circular needles if stitches fall off.
- Use stitch markers to track pattern repeats.
- Unravel with care to correct errors without fraying yarn.
Fixing common knitting mistakes
When you spot a dropped stitch in your knitting, don’t panic. Simply use a crochet hook to catch and pull the stitch up to the correct row. If you find extra stitches on your needle, you might have accidentally created a yarn over. To fix this, just knit two stitches together on the next row to decrease. For twisted stitches, knit them through the back loop to correct their orientation. Always keep a close eye on your stitch count and pattern alignment to prevent these common errors. 🧶 Remember, practice makes perfect, and every mistake is a learning opportunity.
Maintaining your leg warmers
- Wash gently by hand in cool water with mild soap.
- Lay flat to dry, avoiding direct heat and sunlight.
- Use a lint roller to remove pet hair and debris.
- Store flat or rolled to prevent stretching.
- Inspect regularly for loose threads or pilling.
- Mend any small holes or tears promptly to prevent further damage.
Questions and Answers
What type of yarn works best for knitting leg warmers?
Wool or acrylic yarns are top picks for leg warmers because they are stretchy and hold warmth well. Opt for chunky yarns if you want quick results and a cozy feel.
How do I choose the right size knitting needles for leg warmers?
For beginners, using larger needles, around size 8 to 10, makes the knitting process smoother and faster. These sizes work well with medium-weight yarns, ideal for leg warmers.
Can I add my own designs to the leg warmers?
Absolutely! Integrate stripes, use color blocking, or add cable stitches to personalize your leg warmers. Just make sure you plan your pattern before you start knitting. 🧶


Laisser un commentaire